

Clean away winter’s mess with our spring cleaning kitchen edition tips. Follow this 3-step guide on how to declutter your kitchen in the most efficient way possible and turn it into a fun family activity, too. We share tips on how to declutter your pantry, which is where supplements and vitamins are typically stored. Depending on how big, messy, or cluttered your kitchen is, you and your family may need an entire day or even a whole weekend to restore your kitchen to its former glory.
Table of Contents
Step 1: Prepare your cleaning aids/tools/supplies
Get all your supplies ready. You can finish the job quickly if you don’t stop frequently to look for the right cleaning aids. Here are examples of cleaning supplies you may need to have on hand:
- Vacuum
- Sponges
- Microfiber cleaning cloth
- Broom and dustpan
- Mop and bucket
- Garbage bags to put the trash in
- Rugs and rags
- Various brushes
- Cleaning solutions
- Spray bottles for cleaning solutions
- Rubber gloves
- Paper towels
- Isopropyl alcohol
- Feather duster

Step 2: Divide the kitchen into zones
Improve your cleaning flow by dividing your kitchen into zones. Make sure you finish one zone before proceeding to the next one. Here are examples of zones and tips to declutter them:
Zone 1 – Countertops
In addition to go-to kitchen staples and small appliances, you probably also have a lot of knickknacks on your countertops. It’s time to clear everything but the most essential items. Here’s how to declutter your kitchen countertops:
- Wipe from top to bottom, making sure to clean all the hard-to-reach areas
- Arrange and align appliances
- Remove anything that does not belong on countertop
- Transfer infrequently used items to a cabinet or drawer
- Return items to their rightful places in the kitchen (or wherever they belong in your house)
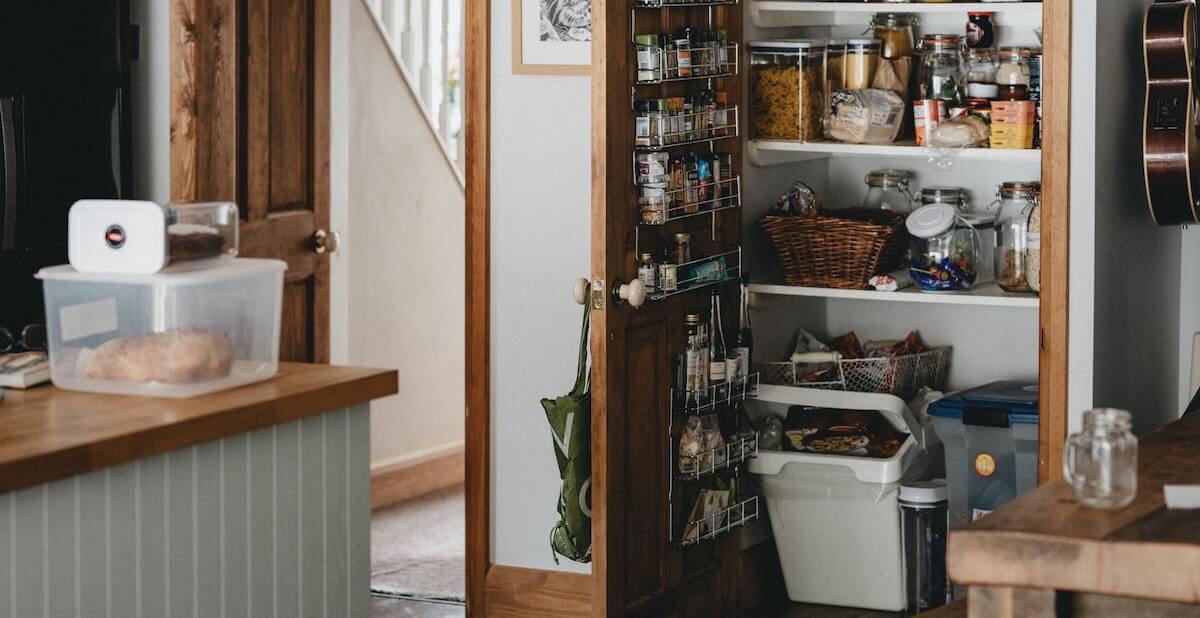
Zone 2 – Pantry
The pantry is where you store all the dry food and everything that doesn’t need to go in the fridge (including our vitamins and supplements!). In some households, it’s just a separate cabinet or cupboard. In others, it’s an entirely separate room.
Here’s how to declutter your kitchen pantry:
- Wipe all surfaces
- Inspect food labels and throw anything that’s expired, moldy, or inedible
- Categorize items by their type, e.g. condiments go on one shelf, baking supplies on another, and so on
- Put labels on everything, including the expiry date
- If you’re trying to switch to healthy eating, throw out all the unhealthy things in your pantry
On another note, almost all of our Intelligent Labs supplements do not require refrigeration. You only need to store them in a cool, dry place. The only exception is our Liposomal Glutathione – this needs to be refrigerated once opened and must be consumed within 3 months.
Zone 3 – Drawers and cabinets
There’s no right or wrong way when it comes to storing items in kitchen drawers and cabinets – as long as everything’s neat and tidy, that is! That said, here’s what you can do to tidy up these areas of your kitchen:
- Partition one drawer and put all spoons on one side and forks on the other
- Place all knives in an in-drawer knife block
- Group cooking utensils together
- Put baking tools in one drawer
- Put your everyday plates, bowls, and other dishes in a deep drawer – and store the others in a cabinet
- Wipe down all drawers and cabinet shelves
Zone 4 – Sink and backsplash
Germs and bacteria can thrive in the kitchen sink, so it’s important to clean it regularly (don’t wait till spring comes in!). It’s where you wash your meat and veggies, and if you don’t have a dishwasher, your used dishes, glasses, pans, etc. To clean your sink, do the following:
- Every few days, scrub the sides and bottom with hot water and dish soap
- Every couple of weeks, use a bleach solution (1:50 bleach to water ratio) to thoroughly clean the faucet, sink, backsplash, and the drain plug, too.
- Replace your sponge every couple of weeks as well
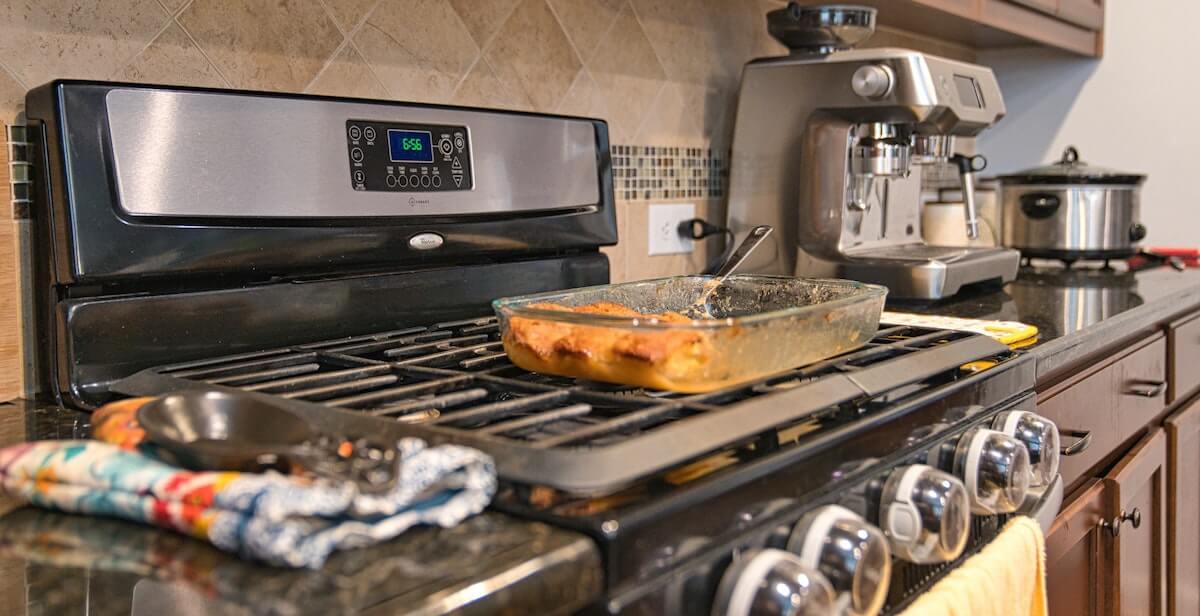
Zone 5 – Cooktop/stovetop
If you don’t always clean up right after cooking, your oven cooktop or stovetop will probably be a dirty, grease-splattered mess. Most cooking spills also tend to harden into a stinky mess if not cleaned promptly. If a simple wipe won’t cut it, try these tips:
- Remove grates and soak in warm, soapy water
- Wipe surface with damp cloth to loosen and remove crumbs and spills
- Mix vinegar and baking soda together for homemade degreaser
- If it doesn’t work, use commercial de-greasing solution and wipe clean
Zone 6 – Refrigerator and freezer
Take out all the food inside and place on table. Check all the labels and throw out anything that’s expired, spoiled, looks weird, or anything you no longer want. Clean the interior thoroughly by wiping it down. Deodorize with baking soda to remove unpleasant smells.
Zone 7 – Other kitchen appliances
Wipe down all your kitchen appliances, including the knobs, handles, and all the nooks and crannies you see. To clean the interior, refer to the user’s manual that came with your appliance. Some require a specific cleaning agent and cleanup method. As for infrequently used appliances, store them in the cupboard so they don’t take up unnecessary (visible) space in the kitchen.
Zone 8 – Walls, floors, kitchen fixtures
Sweep, mop and/or vacuum the floor, making sure to go through all the tiny crevices and gaps where dust can gather. Remove stains on the wall using a vinegar, baking soda, and water solution. Vacuum hard to reach areas like lights and ceiling fixtures. And clean and arrange the dining table and chairs, too.

Step 3: Dispose of the things you don’t need
One way to declutter your kitchen is by throwing out or giving away stuff you no longer want or need.
Examples of things you can throw away:
- Expired food, spices, and other cooking ingredients (thoroughly check food labels)
- Expired medicines/supplements
- Chipped dishes/bowls/cups
- Restaurant menus (look up their menu online)
- Dirty stickers
- Old sponges and frayed cleaning towels
- Broken appliances you never got around to fixing
- Old user manuals you no longer need (look for digital copies online)
Examples of stuff you can donate or sell:
- Unused kitchen gadgets
- Kitchen stuff you’ve outgrown and want to replace with newer stuff
- Mismatched dishes
- Old cookbooks you never read anymore
Ready to breathe new life into your kitchen?
Now that you’ve read our tips on how to declutter your kitchen, it’s time to take action. Don’t wait for the spring cleaning bug to bite you. Get a headstart today and let your cleaning spree begin!
💬 Something on your mind? Share your thoughts in the comments. We love hearing from curious minds.
📩 And while you’re here, join our newsletter for more smart stuff (and secret perks)!